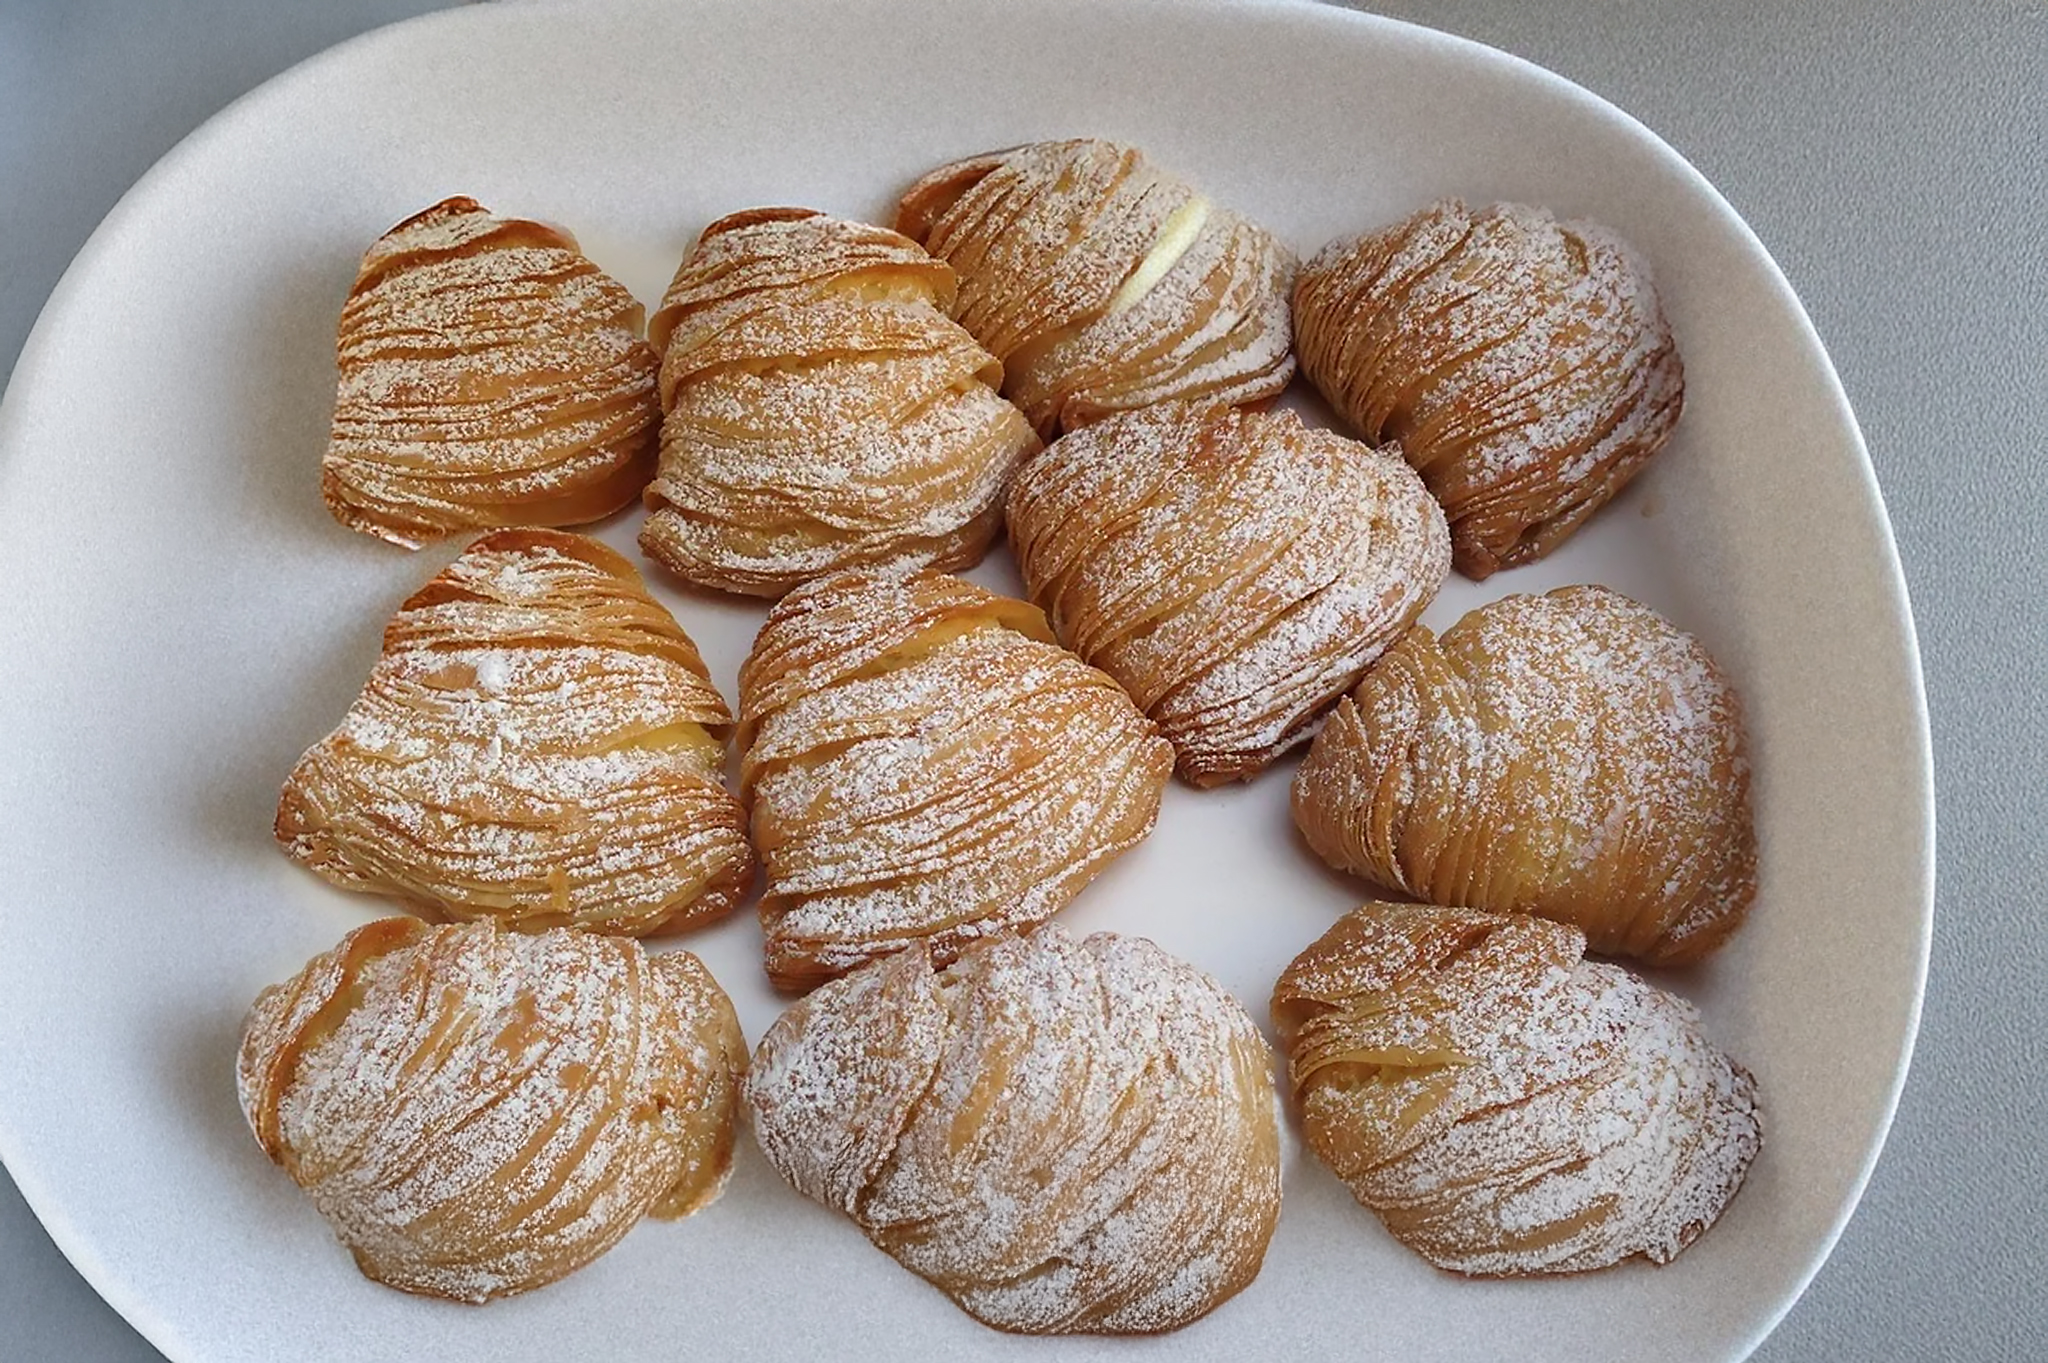
Crispy, flaky pastry shells with sweet ricotta filling—an Italian masterpiece worth the effort
Prep Time2 hours
Rest Time2+ hours
Bake Time25 min
Yield16-18 pastries
Ingredients
Shells (Dough)
4 cups (500g) high-gluten flour (such as bread flour)
¼ cup (50g) sugar or honey
2 teaspoons (10g) salt
¾ cup plus 1-2 tablespoons (185-200g) water
Ricotta Filling
Scant 1 cup (225ml) water
1 cup (200g) granulated sugar
1 teaspoon (5g) salt
½ cup (75g) semolina
1½ cups (350g) whole milk ricotta, drained overnight or squeezed dry in cheesecloth
3 large egg yolks
¾ cup (150g) candied citron (optional but traditional)
¼ teaspoon cinnamon (or 1 tiny drop of cinnamon oil)
1 tablespoon vanilla extract
Zest of 1 small orange
For Laminating
Scant ½ cup (100g) shortening or lard
1 stick (110g) unsalted butter
To Finish
Powdered sugar for dusting
Equipment
Pasta machine (essential)
Piping bag with 1-inch round tip (optional)
Instructions
Make the Filling
Cook semolina base: In a large pot, add water, salt, and sugar. Bring to a simmer. Sift the semolina over the simmering water and stir. Cook until smooth and thick (about 2 minutes).
Add ricotta: Reduce heat to low (mixture will bubble and splatter if not). Add ricotta and continue cooking for about 3 more minutes on low heat.
Finish filling: Add egg yolks, citron (if using), cinnamon, vanilla, and orange zest. Stir until combined and heat for another minute or two.
Cool: Remove from heat, transfer to a bowl, and cover with plastic wrap pressed directly on surface to prevent a skin from forming. Refrigerate until needed. The filling will thicken more as it cools.
Make the Dough
Mix dough: Place flour and salt in a medium-sized mixing bowl. In a separate bowl, mix water and honey. Add honey water slowly to the salt-flour mixture. Mix with your hands to form a dough—it will be stiff and dry.
Rest dough: Cover the dough with a tea towel or bowl and let rest for 30 minutes. This makes kneading easier.
Divide and knead: Cut the dough into 6 pieces. Run each piece through the largest setting of your pasta machine about 8 to 10 times, folding the dough after each pass. Each piece should be smooth before moving on.
Chill: Cover dough pieces with slightly damp towel or plastic wrap. Refrigerate for 1 to 2 hours before the next step.
Form the Dough Cylinder
Roll super thin: Run each piece through the pasta machine on consecutively smaller settings until the dough is very thin (about 1mm). Go to the smallest setting when using high-gluten flour, or setting "6" when using bread flour.
Prepare fat: Whip the butter with the shortening until combined.
Grease first sheet: Lay the first rolled sheet flat on a long work surface (5-6 feet is ideal). Paint/grease the top of the dough sheet by smearing a thin layer of the butter-shortening mixture all over it.
Roll tightly: Begin to roll it up into a cigar/cylinder shape by tightly rolling it starting from the short end. Gently stretch the width (aim for about 9 to 10 inches in width) and pull tightly as you roll to ensure there are no gaps.
Add remaining sheets: Repeat with each remaining piece of dough, greasing and adding to the roll to make one large roll. You will end up with a cylinder that is about 8 to 9 inches long.
Chill cylinder: Wrap tightly and refrigerate until firm (or freeze for up to 1 month).
Shape and Bake
Preheat oven: Heat oven to 400°F. Line two baking sheets with parchment paper.
Slice: Slice the dough log into ½-inch slices. You should have about 16 to 18 slices. Trim off the pointy ends.
Flatten: On a clean work surface, flatten each slice by gently pressing from the center outwards, in all directions. You should end up with a circle that is about 4 to 5 inches wide.
Form cone: Take each circle and form a small cone by pressing your thumbs in the center and up around all the sides. Gently slide the layers away from each other to create the shell shape.
Fill: Place filling in a pastry bag with a 1-inch round tip, or simply spoon it into the cone. Fill the cone to the top. The filling should be thick enough not to ooze out—no need to seal.
Bake: Place filled pastries on prepared baking sheets. Bake for 10 minutes, then reduce heat to 360°F and continue baking until deep gold color (a total of about 25 minutes). You may baste once or twice with remaining grease during baking if desired.
Serve: Serve warm, dusted with powdered sugar. To reheat later, place in a 350°F oven for about 10 minutes.
Lior's Tips
This is a project: Make this recipe in stages over at least 2 days. The filling is easy, the cylinder takes time and patience.
Filling consistency: Make sure the filling is thick like a paste. It will thicken as it cools, but add extra semolina if it seems too thin.
Pasta machine essential: You really need a pasta machine for this. Rolling by hand won't get the dough thin enough.
Let dough rest: If the dough is too difficult to roll, let it rest. The gluten will relax, making it easier to work.
Large workspace: A 5-6 foot work surface is really helpful when working with the dough sheets.
Fat options: The butter-shortening mixture adds flavor. You can also use all shortening or lard instead.
Make ahead: The rolled cylinder can be chilled for 2 days or frozen for 1 month. Filled unbaked pastries can be frozen for 1 month.
Traditional citron: Candied citron is traditional but optional. It adds authentic flavor but can be hard to find.